

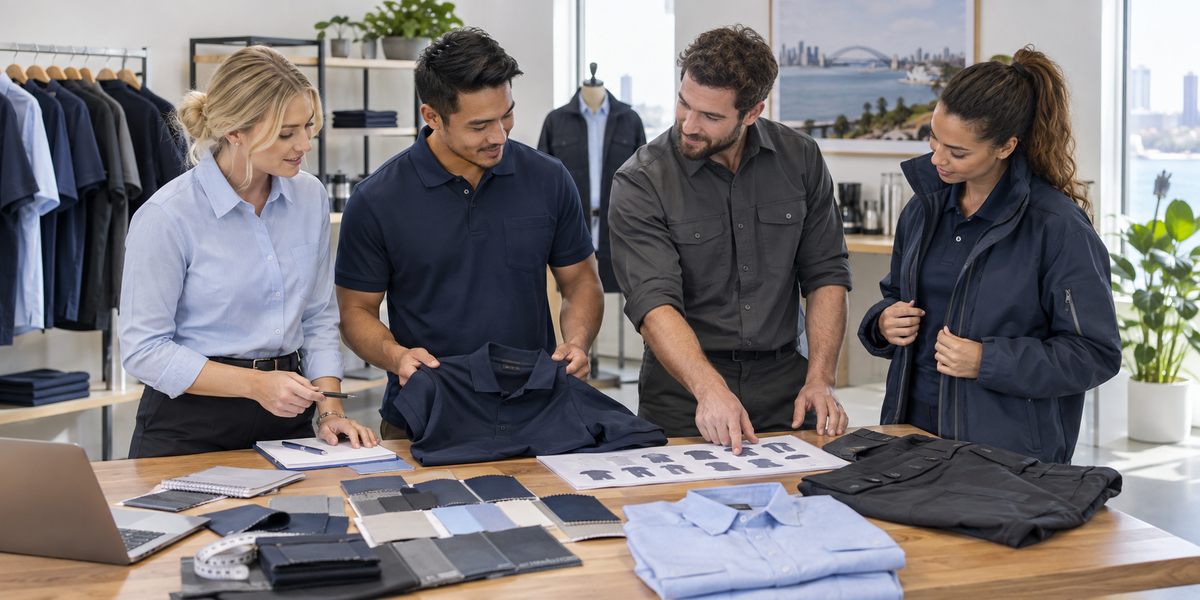
A successful uniform range is not chosen from a catalogue page. It is built from the way people actually move, work, travel, meet customers and cope with changing weather.
That distinction matters. A garment can look right in a product photo and still fail during a normal shift because it restricts movement, clashes with required layers, is difficult to care for or puts the logo in the wrong place. The most useful starting point is therefore not a list of garments. It is a clear uniform design brief.
At Uniforms.com.au, we have worked with Australian organisations since 1999. Our experience has taught us that the strongest uniform programs connect three things from the beginning: the job, the wearer and the way the range will be managed after launch.
This guide explains how to build that brief before samples, decoration or bulk ordering begin.
Start with a working day, not a garment style
Begin by documenting what a normal day looks like for each role. A receptionist, warehouse employee, service technician and supervisor may represent the same brand, but they do not need identical clothing.
For every role, note the real working conditions:
- indoor, outdoor or mixed environments
- temperature changes during a shift
- reaching, lifting, bending, driving or desk work
- contact with customers, food, dust, machinery or weather
- items carried on the body, including tools, radios, access cards and phones
- any site rules, safety requirements or protective equipment that affect the garment
This turns vague preferences such as “we want a smart polo” into useful requirements such as “the shirt must remain comfortable while driving, allow frequent overhead movement and sit neatly under a softshell jacket.”
If your team performs physical or site-based work, begin with our workwear collection to compare practical garment types, then assess each option against the tasks in your brief.
Create a role matrix before choosing the range
A uniform should look coordinated without forcing every employee into the same outfit. A simple role matrix helps prevent both over-ordering and gaps.
List each role down one side of a page and the main work situations across the top. Then nominate the garments needed for:
- everyday duties
- customer meetings or front-of-house work
- cold mornings and air-conditioned environments
- wet or windy conditions
- events, trade shows or occasional formal presentations
The result might be a common polo across the business, role-specific trousers or work shirts, and a choice of outer layers. Shared colours, logo treatment and styling create one visual identity even when the garments differ.
This approach is usually more practical than asking one garment to do everything. It also makes future onboarding easier because each new employee can be assigned the range already approved for their role.
Design the range as a layering system
Australian workplaces rarely operate in one consistent temperature. Staff may move between vehicles, warehouses, offices and outdoor locations on the same day. A uniform range should therefore work as a system rather than a collection of unrelated pieces.
Build from the inside out:
- Base layer: the polo, tee, shirt or blouse worn for most of the shift.
- Mid layer: a knit, fleece, vest or hoodie for warmth without excessive bulk.
- Outer layer: a jacket selected for the actual exposure to wind, rain or cold.
- Lower body: trousers, shorts, skirts or work pants suited to movement and presentation.
Check that collars, hems, sleeve shapes and colours still look intentional when the layers are worn together. Also allow enough room in outer garments for the intended layers underneath.
Treat fit as part of the design
Fit cannot be left until the purchase order. A range that looks excellent on one body type may not work across the whole team.
Identify the size range required, the preferred fit for each role and whether alternate cuts are needed. Whenever possible, arrange samples and have staff try the complete outfit while performing normal movements. Ask wearers to sit, reach, bend, lift and add the layers they would use at work.
For shirts, polos, hoodies and jackets, compare the size chart with a similar garment that already fits well. Our half-chest measurement guide explains how to measure a garment flat from underarm to underarm. Do not assume the same labelled size will fit identically across different brands or styles.
Record the approved style and size for each employee. That information becomes valuable when replacements or new starter packs are required.
Translate the brand into wearable rules
A brand guide is written for many applications, but a uniform has seams, pockets, zips, fabric texture and limited decoration areas. The logo needs its own set of practical rules for clothing.
Your uniform brief should record:
- approved garment colours and acceptable alternatives
- the correct logo version for light and dark garments
- maximum and minimum logo dimensions
- approved positions for each garment type
- whether staff names, role titles or secondary marks are required
- how sponsor or partner logos are prioritised, if relevant
A detailed logo may need to be simplified at a small left-chest size. A jacket pocket or seam can also change the position that looks balanced. The garment and decoration method need to be considered together, not as separate purchasing decisions.
Choose decoration after the garment
Embroidery, screen printing, direct-to-film printing and other methods produce different results. The best option depends on the artwork, quantity, fabric, placement and intended use.
Embroidery can provide a durable, professional finish, but very small text and fine detail may not reproduce cleanly. Large printed artwork may suit some garments better, while certain seams, linings or pockets can limit where machinery can reach.
Ask for the artwork to be assessed on the actual garment or a close equivalent. If embroidery is being considered, our guide to embroidery logo setup and stitch count explains why size, detail and fabric construction matter.
Uniforms.com.au operates onsite embroidery and printing, which allows our team to consider the garment and branding together when planning a job.
Prototype one complete outfit
Approving a flat illustration is useful, but it is not the same as approving a working uniform. Before a large rollout, assemble one complete outfit in the chosen garments, colours and decoration method.
Review it under normal workplace conditions. Check:
- comfort and movement over a realistic shift
- logo size, contrast and placement
- how the garments look when layered
- pocket access and interaction with equipment
- care requirements and appearance after washing
- whether the wearer can perform the job without adjusting the clothing constantly
Record any change before production. A short wear trial is far less disruptive than discovering a range-wide problem after every garment has been decorated.
Plan the second order before placing the first
A uniform program is an operating system, not a one-off purchase. Staff numbers change, garments wear out and new starters arrive. The design brief should explain how the range will be reordered and controlled.
Keep a simple register containing the supplier, style code, colour, size, decoration position, approved artwork version and original order date. Nominate who can authorise changes and how discontinued garments will be replaced without making the team look mismatched.
Also decide how employees request replacements, who checks the order and whether common sizes should be held for urgent starters. These decisions are less visible than the design, but they determine whether the uniform remains consistent six months later.
A one-page uniform design brief
Before requesting samples or quotes, make sure your brief can answer the following:
- People: Which roles wear the uniform, and how many people are in each role?
- Work: What movements, environments and equipment must the garments accommodate?
- Range: Which base, mid and outer layers are needed?
- Fit: What size coverage, cuts and try-on process will be used?
- Brand: Which colours, logos and placements are approved?
- Decoration: Which method suits the artwork, fabric and quantity?
- Trial: Who will wear-test the complete outfit before rollout?
- Operations: How will sizes, replacements, new starters and repeat orders be managed?
If one of these sections is unclear, resolve it before selecting the final range. That discipline reduces guesswork and gives both your internal team and uniform supplier a better basis for decisions.
Build the brief with Uniforms.com.au
A good uniform range should make the working day easier while presenting the business consistently. It begins with careful observation of the job, becomes tangible through samples and trials, and stays effective through accurate records and a sensible reorder process.
If you are planning a new team wardrobe, read our practical Australian work uniform buying guide or contact Uniforms.com.au for help turning your requirements into a coordinated range.
About the author: Jason Ham is the founder of Uniforms.com.au and a respected Australian authority on uniforms and workwear, with more than 27 years of industry experience. His extensive knowledge, business achievements and entrepreneurial journey have also been showcased in the book Entrepreneurs Exposed.
Share:
How We Delivered Urgent Team Uniforms for NAPA Auto Parts Racing at the Bathurst 1000
Before You Order Staff Uniforms: 18 Questions Every Australian Business Should Answer